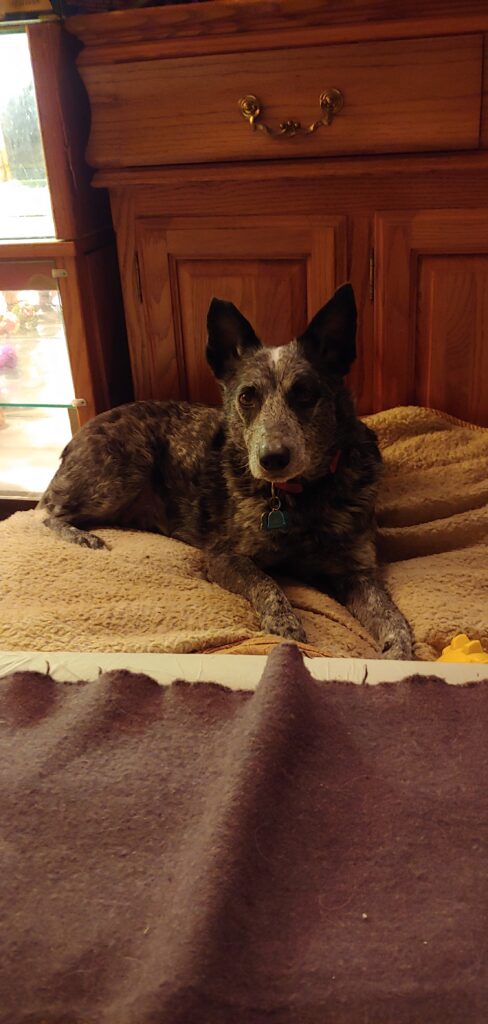
Nattai adjusted to our new living arrangements really well.
Crazy stuff happened at the beginning of the year and I wasn’t able to write an update of a year having Nattai, my Australian Cattle Dog Blue Heeler.
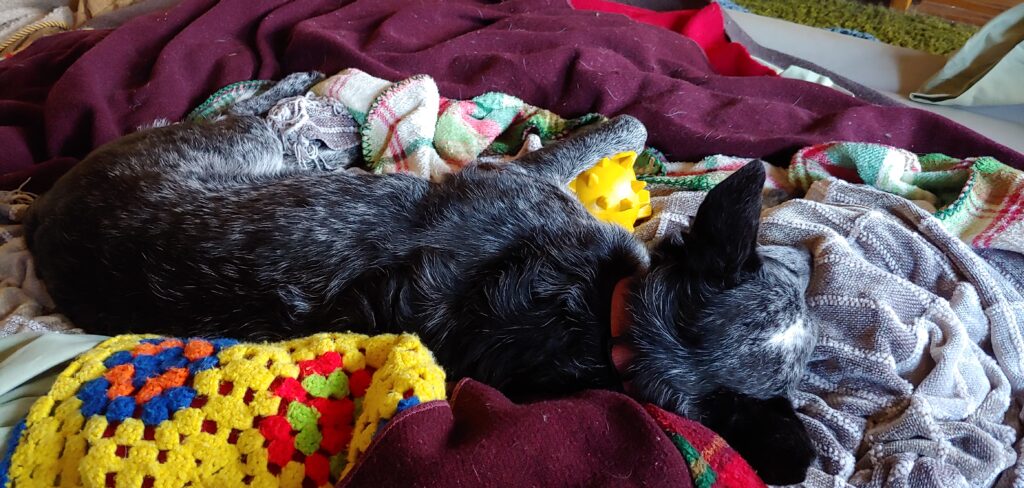
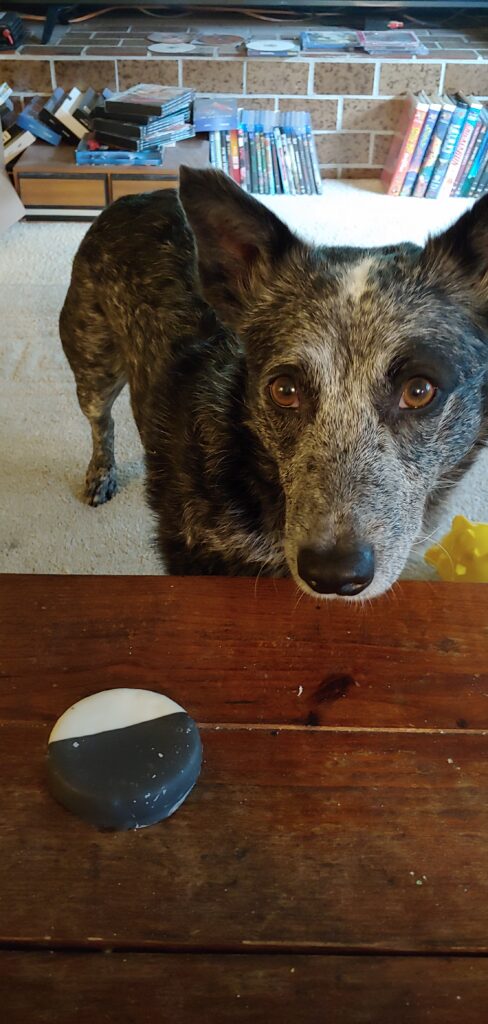
He’s doing awesome and it’s the best thing that has happened to both of us. I’ve been slowly working on his noise anxiety issue and we make progress and lose some at times. The over all his he’s improving. I can get him to push through the fear when outside playing with his toys. Going on walks is still a speed run, but he still enjoys them, although he’s definitely a home boy and loves his comfy living room bed and his cubby hole den in the bedroom.

Categories
Things Come To An End
After many years of hosting a website for a friend of mine it’s time to shut it down. I haven’t heard from in since 2019 and so I’m choosing to let it go and move on.
It was a UFO website which gave him goals and purpose other than drugs. I think he’s still doing the UFO stuff, just not using the website at all.
If you’ve come looking for UFO Vid Mag and ended up on this website, you’ll know why.
The truth is out there; Believe. All Base Belong To Us!
Categories
Dynmap and Apache HTTP Server
You will need to create a virtual host within Apache first and make sure that it responds. This is not the scope of this article to do this. There are many article that tell you how to setup a virtual host in Apache. I also don’t go over any SELinux settings.
You will need Dynmap plugin installed and the server at least started once for the configuration files to be created.
This is how I setup Dynmap Minecraft mapping plugin to use Apache HTTP Server instead of the built in HTTP server. This isn’t a hand walk how-to but a post to remind myself of how I did it. I highly recommend this configuration over using the built in HTTP server or using proxy methods. I observed better performance on both the loading of tiles and the Minecraft server.
Hostname: minecraft.server.example
Web Site Path: /home/user/public_html
Minecraft Server Path: /home/user/minecraftserver/plugins/dynmap
First thing to do is shutdown the Minecraft server. This is to avoid any issues with the tiles being written or updated while being copied.
Next, copy the /home/user/minecraftserver/plugins/dynmap/web directory to the /home/user/public_html directory. There is caveats to this. Depending on how large your world is, Dynmap can (and will) create millions of files for the map. The copy command can take a very long time depending on how large your world is. (It took 3 hours for one of my servers.)
cp -R /home/user/minecraftserver/plugins/dynmap/web /home/user/public_html
Once the copy is complete, rename the new folder in the public_html directory to dynmap.
cd /home/user/public_html
mv web dynmap
Change file permissions on the files so that Apache can properly access them.
chmod -R 775 dynmap
Add user to apache group and apache user to user group.
usermod -a -G apache user
usermod -a -G user apache
That is it for the Apache HTTP server setup. Yep, just copy the files. Now, onto configuring Dynmap for external HTTP server.
cd /home/user/minecraftserver/plugins/dynmap
Edit the Dynmap configuration.txt file.
First find and comment out this section of the configuration file. Comment everything until you get to the next class statement, which will be the one after this that you uncomment.
- class: org.dynmap.InternalClientUpdateComponent
Now, uncomment out this section of the configuration file.
- class: org.dynmap.JsonFileClientUpdateComponent
Then, change these two configurations
tilespath: web/tiles
webpath: web
to
tilespath: /home/user/public_html/dynmap/tiles
webpath: /home/user/public_html/dynmap
Last change this configuration
disable-webserver: false
to
disable-webserver: true
That is it!
Restart Apache HTTP Server, and start your Minecraft Server. Check the log files to make sure Dynmap starts up properly with no errors. Then load your website at https://minecraft.server.example/dynmap
Attributes:
After searching many means of proxying to the Dynmap built in server, it was only until I found this link that I realized, proxying is the wrong way to go about doing this. Again, I highly recommend to NOT proxy.
https://www.reddit.com/r/admincraft/comments/8j2cbg/setting_up_dynmap_on_a_standalone_webserver_using/
Categories
Anti-Spam through an IMAP Account
As we are increasingly dealing with an aging population, this adds technological problems. My elderly mother has developed dementia and has lost any technology knowledge that she had other than basic Windows operating system fundamentals. Her primary access to the Internet is via Outlook (the e-mail client) and a web browser. In her diminished capacity of memory and cognitive abilities she will open nearly every single e-mail that she gets. And does she get them. Roughly around 1,000 e-mails a day. With big ISPs (Comcast) allowing willy nilly whatever to come through their mail servers this is a disaster waiting to happen.
Well, why not just install some anti-spam for Outlook application you ask? Ah you mean the 2000’s era software that no longer works or is available? Yeah, that is why. The worthless Anti-Virus software packages ‘Anti-Spam’ has a hit rate of about 0.01%. Super effective isn’t it? It’s great for detecting viruses, not for spam e-mails. Which makes sense. It’s Anti-Virus. Entirely different thing.
Users with disabilities like dementia (again memory loss) is challenging as anything that changes can cause serious issues. I can’t just up and replace the Outlook application she has been using for years with something that may have better built in anti-spam.
Again, I cannot just switch over to a mail server I manage. She’s had her Comcast e-mail address for decades now. That is what she knows. Creating some elaborate forwarding system is just asking for trouble managing that. And yes, this would be the most ideal way of solving the problem. And I highly recommend it. Especially if you are in a position where the person with dementia onset is early and you can move over to an e-mail system that you have control over. The best place for anti-spam is before it’s acceptance and delivery to the user. And this is how most of the solutions migrated to.
Alas I do not have the ability to control what Comcast accepts as e-mail before delivery. But, I have found a middle ground solution that appears to work well. Unfortunately it has some caveats. As I mentioned, this is an old way of dealing with spam e-mail, so the software has been nearly abandoned. But there is still hope.
The solution is relatively simple in a complex system. Logging into the IMAP service, fetching and scanning the e-mail via Spamassassin anti-spam application, marking the e-mails that are detected as spam, moving them to a Spam/Junk folder (and optionally just deleting them). The solution does not require running any software on the users computer itself, although it can be. But I wouldn’t recommend it in this scenario of a dementia patient. It will need to be running on a separate (remote) computer (a VM perhaps hosted somewhere).
The solution I found is just two software applications. A python based application called ISBG (IMAP Spam Begone) and Spamassassin.
For Fedora Linux you will want to install Spamassassin.
$ sudo dnf install spamassassin
Then make sure the python installer pip is installed.
$ sudo dnf install pip
Then install isbg.
$ pip install isbg
Well, that’s it! NOT! Did you think it was going to be that easy? As I mentioned earlier, this way of anti-spam has been pushed as a thing of the past. So, the isbg software was yeeted by the developers years ago. Probably beause only 4 people in the world used it as no one really knew what to use it for. And because the isbg application is written in Python which changes every version release. And don’t get me wrong, Python is super cool and you should learn it.
When writing this article, the current version of isbg is v2.3.1. I have no idea which version of Python it was initially released for, but the current version of Python is v3.12.5. The isbg application will immediately fail with:
$ isbg
Traceback (most recent call last):
  File "/home/<yourusername>/.local/bin/isbg", line 5, in <module>
    from isbg.__main__ import main
  File "/home/<yourusername>/.local/lib/python3.12/site-packages/isbg/__init__.py", line 10, in <module>
    from .isbg import ISBG, ISBGError, __version__, __exitcodes__, __license__
  File "/home/<yourusername>/.local/lib/python3.12/site-packages/isbg/isbg.py", line 23, in <module>
    from isbg import imaputils
  File "/home/<yourusername>/.local/lib/python3.12/site-packages/isbg/imaputils.py", line 40, in <module>
    Email = TypeVar(email.message.Message)
            ^^^^^^^^^^^^^^^^^^^^^^^^^^^^^^
TypeError: typevar() argument 'name' must be str, not type
Awesome! Right? Just what you wanted in your journey to hell (if you’ve gotten this far you’ve been there for awhile). But have no fear. This is actually a fairly simple solution. Mind boggling, I know. You just need to edit the file below at line 40. Use whatever text editor you are familiar with.
/home/<yourusername>/.local/lib/python3.12/site-packages/isbg/imaputils.py

Line 40:
Email = TypeVar(email.message.Message)

Change To:
Email = TypeVar(str(email.message.Message))
And now the isbg application will work. It will still have some issues with specific malformed e-mail’s and it does not appear to work with the –spamc option.
You will now need to get the username, password and the IMAP server address for the e-mail account you’ll want to scan. The e-mail account will also need a Spam or some sort of Junk folder to move the spam to already created. isbg will not create the folder. In this example, my moms account already had Junk folder, so that is what I am using. By default it is Spam. If isbg does not detect this, it will exit with an error saying so. This example also uses Comcast as the IMAP. The first run of the isbg command you will want to use the –savepw (Save Password) command, so subsequent commands will not prompt you for the password. Note that the password is saved in plain text. There’s no getting around that. isbg will by default only scan 50 e-mails per run. We’ll keep it at that for the first run.
isbg --verbose --imaphost imap.comcast.net --imapuser <yourmom>@comcast.net --spaminbox Junk --savepw
Again, if you have the default Spam folder for spam e-mails, remove the –spaminbox command. Without any errors it will login, and scan through the messages. It’s a bit on the slow side so many take a couple of minutes.
Now that it has completed you can add the better options I have found. I do not recommend running isbg wide open (meaning scanning all e-mails in a single run). It will crash on specific malformed e-mails and you will lose any sort of progress made. It only does it’s write operations after all e-mails have been scanned. I’ve found a happy medium of 250 e-mails to be acceptable. (And yes we’re talking about someone who gets several hundred to a thousand e-mails per day.) Here is the new command.
isbg --verbose --imaphost imap.comcast.net --imapuser <yourmom>@comcast.net --spaminbox Junk --maxsize 512000 --partialrun 250 --flag
The maxsize is what maximum size e-mail to fetch from the IMAP server. isbg defaults to a considerably low value. Most spam these days are much larger than it. So I put the max e-mail size to 512kbytes. The partialrun command is where you set how many e-mails are processed during this session. 0 means all of them. I do not recommend this. I set this to 250. Enough where I can cover a large group of e-mails but not lose an hour and a half of processing if isbg comes across a malformed e-mail message. (Remember we don’t have control of the delivery.) The flag command tells isbg what to do after the scan is done. Prepend the subject with [SPAM] and the score of it and move it into the Junk folder (the setting from the spaminbox).
That is really it. You can create a crontab to run this command however often. I would not recommend minutes but four times a day. Depends on the volume of e-mail coming into the account.
Anyways, that about wraps it up for this. I wrote this to mainly remember what I changed to make the isbg program to work. This was written by a real person with no AI involved. I will edit this at a later time after publication with attributions.
Welcome to Costco, I love you.
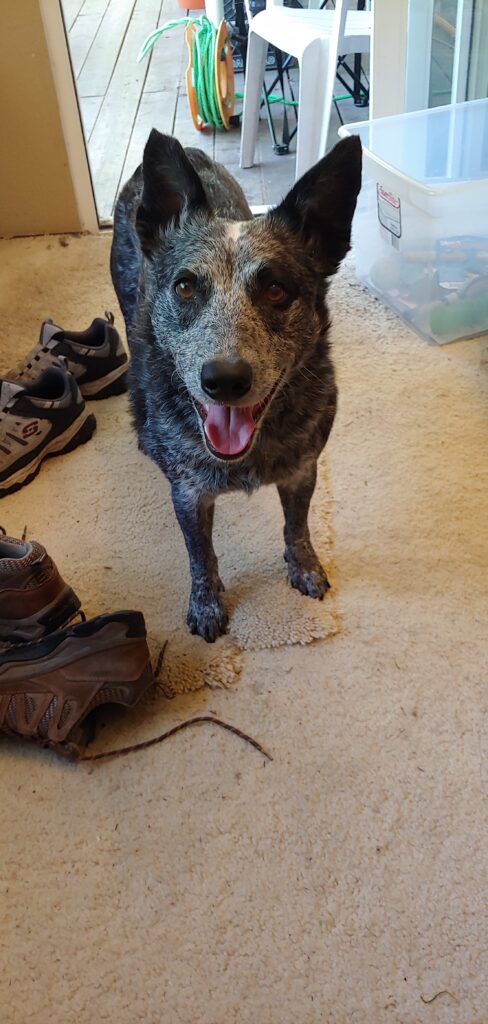

May 25th Nattai turned 5 years old. I got him some cookie treats and a haul of toys from Pet Smart. A Chuck It flying Squirrel, 3 pack of Chuck It balls and a couple basic toys.


It’s been almost two months with Nattai now. He’s adjusting to his new life very well. I tried to set him up for success and I feel like it is working well. Might have thrown him into the fire in certain instances too soon on some things. It’s hard to not know that he hasn’t experienced things that are normal day to day for me. Or some things that you’d have expected a dog to have already experienced.
Meet my re-homed Australian Cattle Dog Blue Heeler, Nattai.

It was time for another chapter in my life.
Categories
Cobar | 2007-2020
My beautiful, charismatic, loyal and best friend of 13 years Cobar passed away peacefully at my side on October 19th, 2020.
Cobar was an Australian Cattle Dog Red Heeler. He suffered from a a blood disease called Hemophilia. It was of the worst kind. He had 2% clotting factor (his blood didn’t clot). We were together from beginning to end. He lived a good happy life and full filled his job by making people happy and playing as much as he could.
He will be missed greatly.